Blog
Vintage Lighter Restoration Guide
Vintage Lighter Restoration Guide
# Vintage Lighter Restoration Guide
Collecting vintage lighters has become a cherished hobby for many enthusiasts. These small, often ornate devices carry stories from different eras, evoking nostalgia and serving as unique conversation pieces. However, to truly appreciate their beauty, functionality, and historical significance, properly restoring these items is essential. This guide will walk you through the steps of restoring vintage lighters, highlighting techniques, tools, and tips to ensure your collectibles shine once again.
## Understanding Vintage Lighters
Before diving into the restoration process, it’s important to understand the types of vintage lighters available. The most common varieties include:
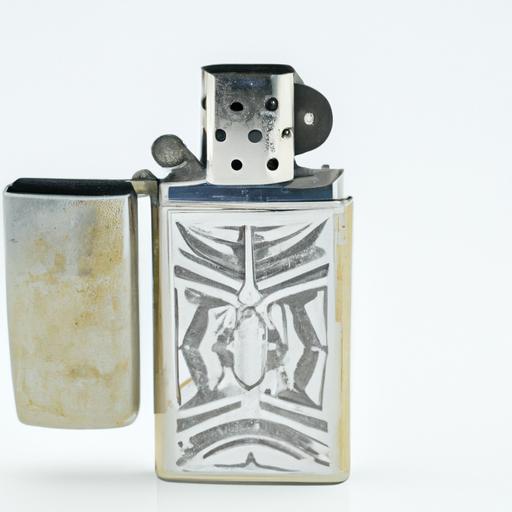
1. **Zippo Lighters**: Known for their ruggedness, Zippo lighters were introduced in the 1930s and have remained a staple of American culture.
2. **Table Lighters**: Typically larger and often made of metal, these lighters were designed for use on tables and were commonly fueled by butane.
3. **Pocket Lighters**: Small, portable lighters made from a range of materials, including plastic and metal.
4. **Gas Lighters**: These include variants that operate using lighter fluid or butane.
### Assessing Your Lighter
Before you begin restoration, carefully evaluate your lighter. Check for:
– **Physical Damage**: Look for dents, scratches, or rust that may need to be addressed.
– **Functionality**: Test if the ignition system works properly. If the lighter does not ignite, it could be due to empty fuel or a malfunctioning spark mechanism.
– **Parts Integrity**: Ensure that all components, such as the flint, wick, and casing, are intact. Missing or damaged parts will require special attention.
## Tools and Materials Needed
To effectively restore a vintage lighter, you’ll need the following tools and materials:
– **Screwdrivers**: Both flathead and Phillips for opening the case.
– **Cotton Swabs**: To clean hard-to-reach areas.
– **Lighter Fluid**: To refill Zippo lighters and clean components.
– **Soft Cloths**: For polishing and cleaning purposes.
– **Lubricants**: Such as silicone grease, for moving parts.
– **Replacement Parts**: Accessory components like flints, wicks, and springs may be necessary, depending on condition.
– **Metal Polish**: For restoring shine to metallic finishes.
## Step-by-Step Restoration Process
### Step 1: Disassemble the Lighter
Carefully remove the lighter’s casing using a screwdriver. Take photos during disassembly to remember how everything fits together. Keep the components organized to prevent losing any small parts.
### Step 2: Clean the Components
– **Metal Casing**: Use metal polish to clean the exterior. Apply it with a soft cloth and gently buff until the metal shines.
– **Internal Mechanisms**: Use lighter fluid and cotton swabs to clean the striker and wick areas. Make sure not to saturate any components excessively.
– **Flint and Wick**: Carefully replace the flint if it’s worn down, and check the wick for damage. If the wick is frayed or burnt, replace it.
### Step 3: Inspect and Replace Parts
Examine all components closely. If anything seems broken or warping, assess if it can be repaired or if replacement is necessary. Replace the flint and wick as needed, ensuring they fit properly.
### Step 4: Reassemble the Lighter
Following your earlier photographs as a reference, carefully reassemble the lighter, ensuring each piece is securely placed.
### Step 5: Test Functionality
After reassembly, refill the lighter with the appropriate fuel and test it. If it doesn’t ignite, check the ignition mechanism and ensure the wick is properly in position.
### Step 6: Final Polish
Once the lighter is functioning smoothly, give it a final polish with a soft cloth to remove any fingerprints or smudges.
## Maintaining Your Restored Lighter
To keep your vintage lighter in top condition:
– Store it in a cool, dry place away from direct sunlight and humidity.
– Regularly check and replace flints and wicks as needed.
– Clean and polish it periodically to maintain its appearance.
## Conclusion
Restoring vintage lighters is a rewarding and fulfilling endeavor that not only preserves history but also keeps the charm of these collectibles alive. By following this guide, you can bring a once-neglected lighter back to life and enjoy its beauty and functionality for years to come. Happy restoring!

